Moving to a new home presents the perfect opportunity to organize your media collection(s). Media comes in many forms: books, movies, comic books, and video games. The more you have, the harder it gets to find what you’re looking for. Not to mention your items look great when lined up.

Here are our step-by-step instructions for organizing your media after a move.

Step 1: Have a Place for Everything

No one likes to see books stacked on the floor. Before you begin organization, make sure you have a place for all your items. Most items fit on shelves, but you can also use filing cabinets or special containers.

A lot of media comes in standardized cases, like CDs or DVDs, so try to find shelves built for those mediums. Doing so will increase space efficiency.

Watch: How to pack books

Step 2: Pick a First-tier Organization Style

Once you have a place for everything, choose an organization style. First, we recommend organizing by type of media (it might confuse you to mix music with books or video games). Here are the most common ways to arrange your media:

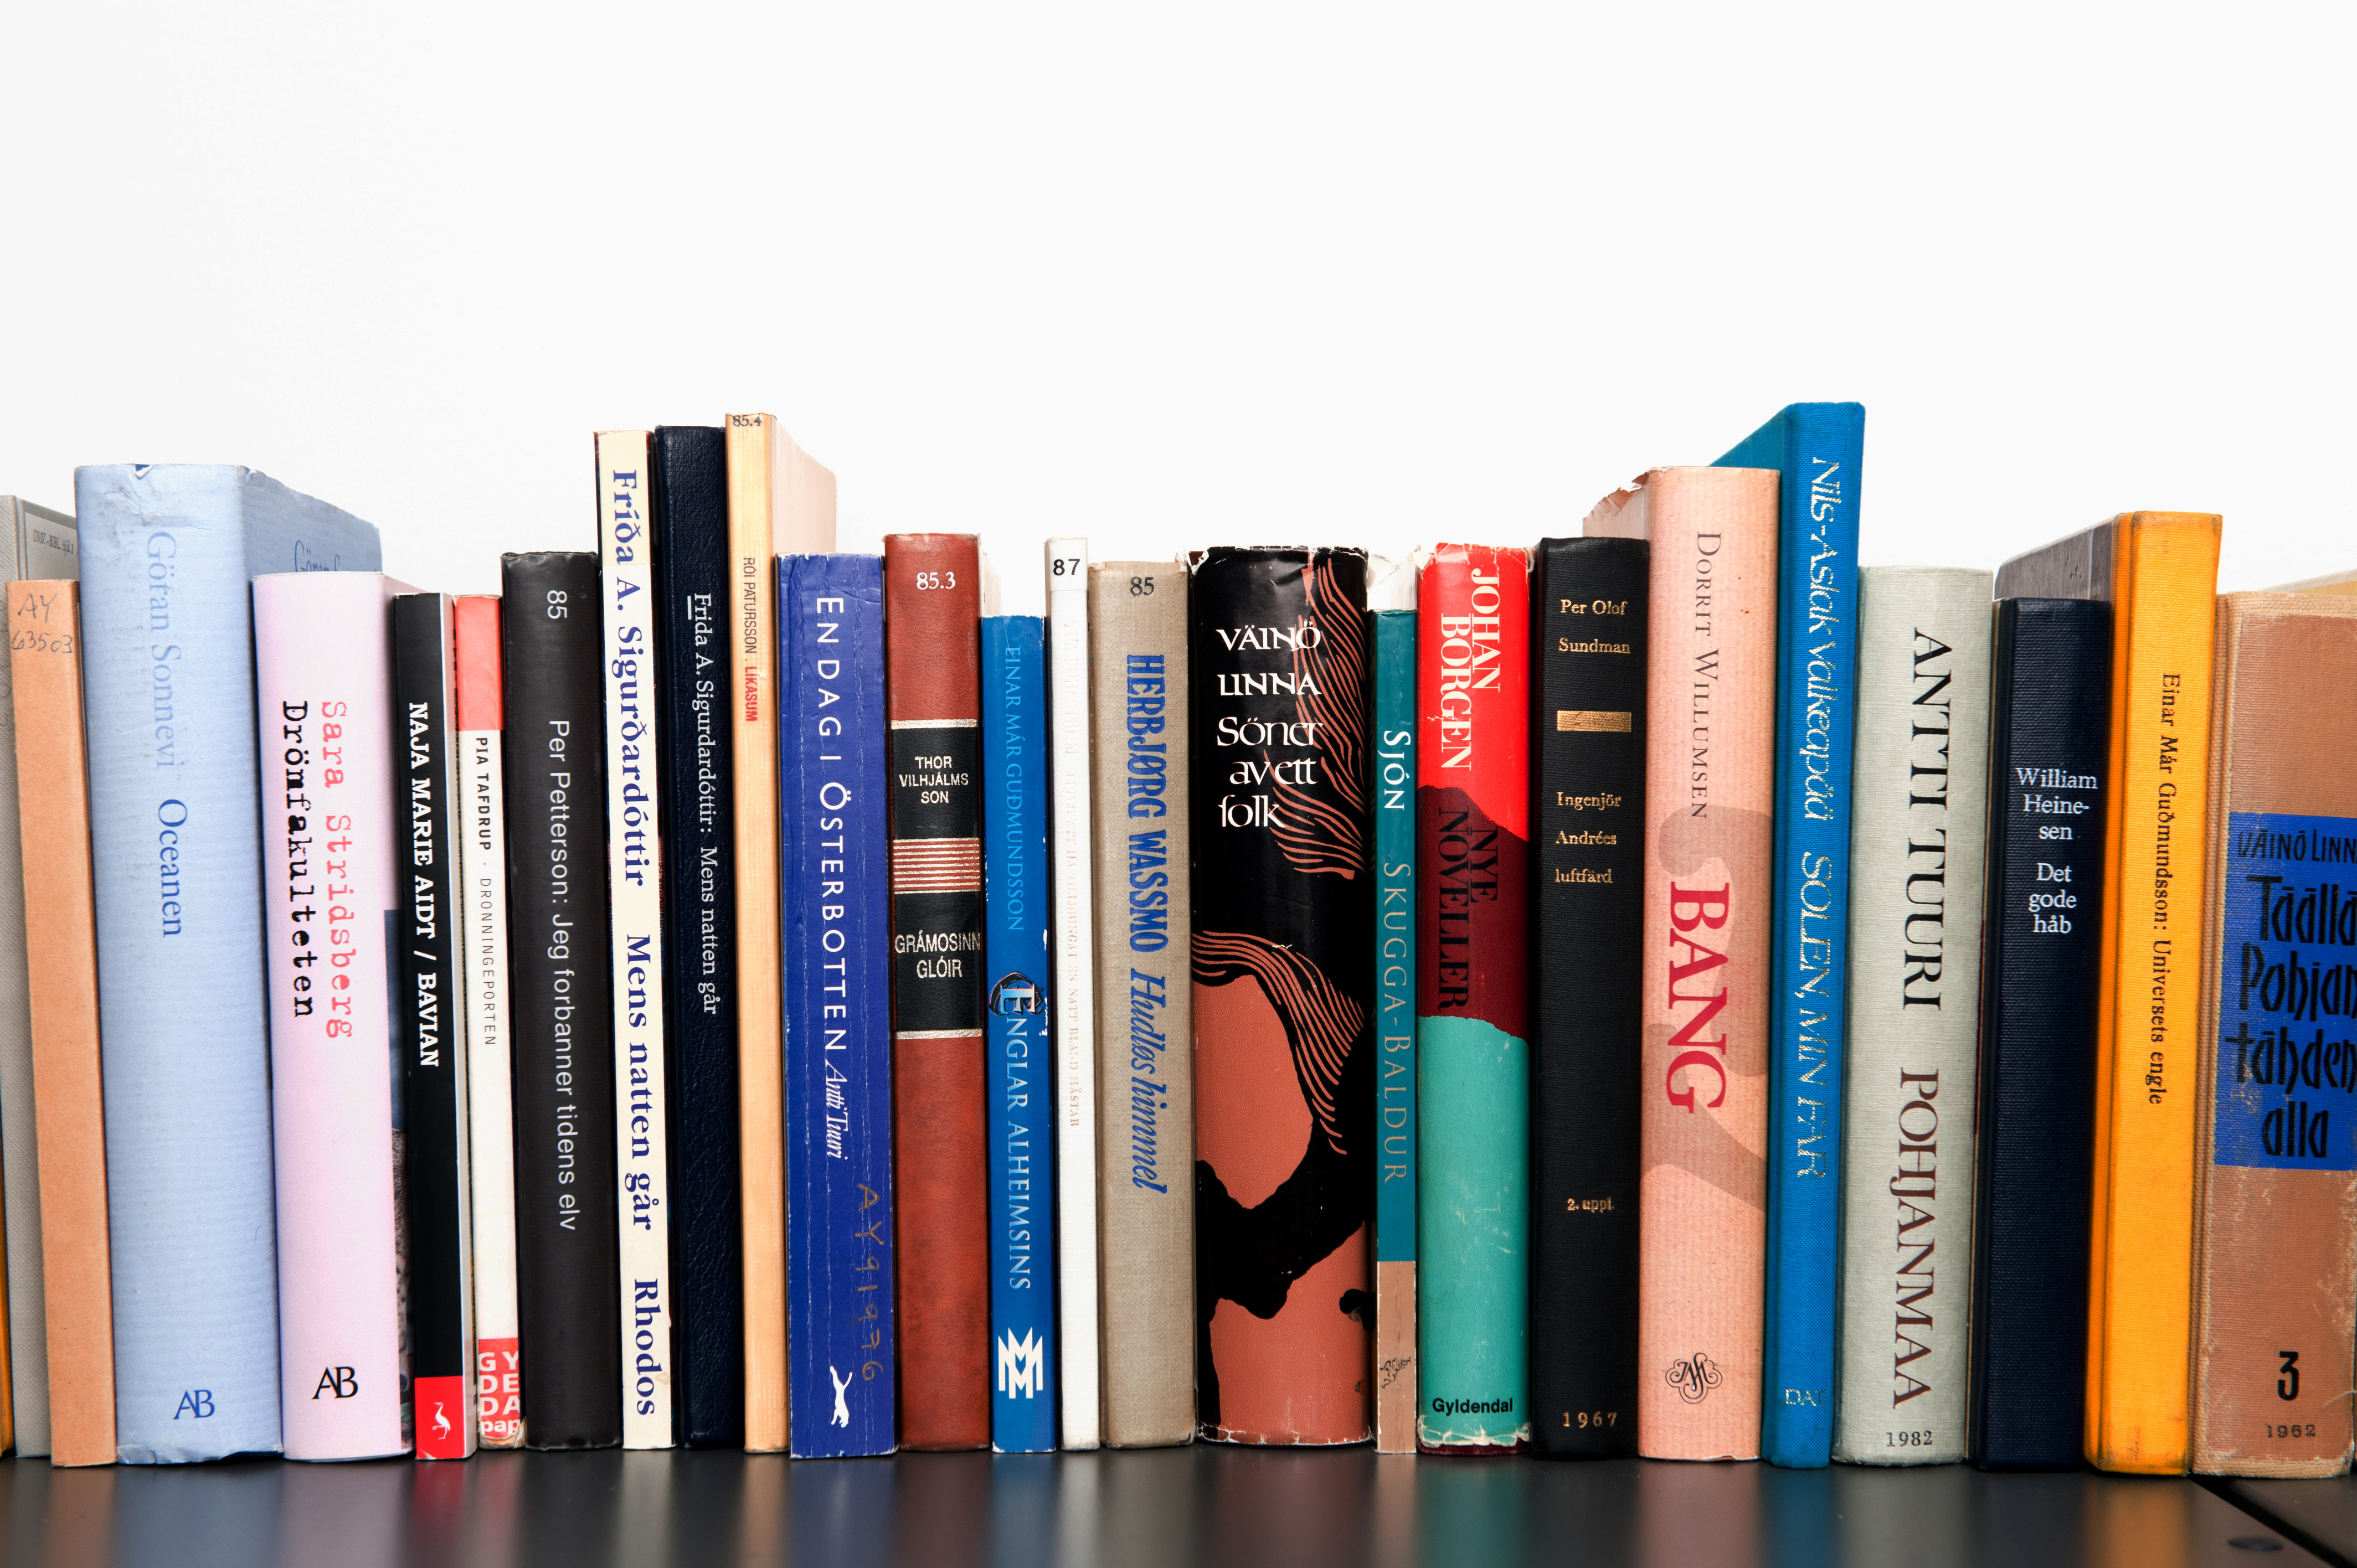
  • Alphabetically: This is the most obvious way to organize. However, it might not be as straightforward as you think. For example, you could organize by author or by title. For books, organizing by author is common, but for movies, most people prefer to organize by title.
  • By Genre: Genre is a popular method of organization, and it’s self-explanatory. Genres can include action, drama, romance, mystery, comedy, horror, science fiction, or nonfiction. You can choose an infinite number of genres. Choosing them depends on your tastes and what genres your media emphasizes.
  • By Color: If you like art, organizing by color might excite you. Many people like to display an interesting color arrangement. You can even create a rainbow by arranging the red media together, followed by orange, etc. Some like to create mosaics from their media, such as arranging their red, white, and blue media into an American flag. We recommend this method only if you have a lot of media to work with.
  • By Date: You can organize all your media by the date each was originally published. You could also organize them in the order that you first read or watched them.
  • Chronologically: If you have a lot of historical media, you could organize it in historical order. Similarly, if you have a lot of long series, it doesn’t always work best to list them alphabetically. For example, if you purchased all the Marvel films, you might want to put them together in the order they came out.

Step 3: Pick a Second-tier Organization Style

Once you have picked a first tier of organization, some like to choose a second tier. For example, if you organized your first tier by genre, you might choose to arrange your media alphabetically within that genre. A second tier is not always necessary, but it can help.

Step 4: Keep a Catalog

If you have a large volume of media, keeping a catalog is essential. We recommend having a list of all your media in the order that you chose to organize them. That way, if you take something off the shelf, you know exactly where to return it. Keeping a digital spreadsheet is anCD - DVDother step up, because then you can sort through the data to find what you need.

Step 5: Label

This last step is optional, but many people like to label their shelves. This is especially useful if you need to move to a new home.

You or the moving company can easily mark boxes with the appropriate label as you unpack shelves. Thus, unpacking becomes easier.

As you unpack and organize your media, follow some of our suggestions, and you’ll always find the media you’re looking for.

Tagged in: media collection, Moving Tips, packing

Moving internationally with children seems terrifying. Especially because your toddler bursts into blood-curdling shrieks with a simple drive to the grocery store. You imagine that sitting on a plane for 10+ hours with your child will be impossible, painful, and noisy. How can you entertain your children when you fly? What toys or other items should you bring on the plane with you?

Flying with children is much easier than you think. You have many different options available to you to make your flight as relaxed as possible.

Travel Documents for Your Children

Before you think about fun games and activities for your children to play, take care of the necessities first. Did you know that everyone, including your infant or toddler, requires a passport for international travel? Make sure to acquire the appropriate documents for your children. Keep their travel documents Travel Documentswith yours for easy access and a smooth trip.

Items to Ask the Airline for Before Flying

If you have small infants, ask the airline about their cot or bassinet options. Many airlines offer bassinets for families with newborns or infants. Your baby can sit or sleep in the bassinet so you don’t have to hold him or her during the entire flight.

If you want your child to sit in a car seat during the flight, ask the airline if you can bring one with you and if you’ll pay any additional fees to do so. If you need to use a stroller, ask the airline if they gate check it. If the airline does gate check strollers, they will place it in the cargo area as you enter the plane and have it ready for you at the end of your flight.

Items to Bring on the Plane

Sometimes you find it hard to entertain your child for an extended period of time. You might think that you can’t bring a lot of entertainment with you on the flight. You may also worry that some items aren’t allowed on the plane. However, you’d be surprised at how many things you can bring with you while traveling.

The items you bring with you are either necessary or for entertainment purposes. Always double check with airline policies so you know which items you can bring with you. Items to bring on the plane include:

  • A small blanket
  • Baby Tylenol and any other medication your child might need
  • Bibs
  • Bottled water from the airport (to mix with formula)plane
  • Child-friendly headphones
  • Coloring books and crayons
  • Extra diapers and wipes
  • Food, formula, and bottles for infants
  • Grocery bags for dirty clothes
  • iPad or other tablet (great for games and distracting your little one)
  • Legos
  • Lollipops to suck on during take-off (sucking on lollipops reduces any pain in your child’s ears)
  • Small puzzles
  • Small toy animals or cars
  • Snacks and empty sippy cups
  • Spare clothes (socks, underwear, shirts, etc.)
  • Spare clothes for yourself (messes happen anytime, anywhere)
  • Two or three small books

Games and Activities to Entertain Your KidsKids on plane

If the in-flight movie selection isn’t enough to entertain your children, have games and activities ready for them to dive into.

Have your child draw a picture or tell a story about the country you’re moving to. Read the books you brought along. If you can’t distract your child with pictures or stories, try some other games or activities. Plane-friendly games and activities include:

  • The alphabet game
  • Card games (Uno, Old Maid, Go Fish, etc.)
  • Gameboys or other handheld gaming devices
  • iPad games (My Little Pony, Fruit Ninja, Tsum Tsum, Super Why, etc.)
  • I-Spy
  • Make puppets out of barf bags
  • Paper toss (using cups and napkins from the flight)
  • Rock Paper Scissors
  • Storytelling
  • Tic Tac Toe
  • Travel Bingo
  • Travel Scrabble
  • Word searches

International travel with your child is easier than ever. Try out a few of these games and activities with your children before you travel. Adjust any activities to better fit your children’s likes and interests.

Tagged in: International, relocation, Traveling with Kids